Install the Editor
The Unity Editor is where you will assemble your game. This tutorial will use Unity 6.3 LTS (6000.3.12f1), but this should work on any version of Unity 6+.
-
Open the Unity app.
-
Navigate to the Installs tab on the left side.
-
Click Install Editor on the right side.
-
Install Unity 6.3 LTS under the tab Official Releases.
Version
Any official release of Unity 6 will work. The Unity Hub will recommend version 6.4 (6000.4.1f1), but this tutorial will use Unity 6.3 LTS (6000.3.12f1) since it is more stable and will be supported for longer.
The program will ask you what modules you would like to have installed with the Unity editor.
-
Ensure the Microsoft Visual Studio Community 2022 box is checked.

Every other checkbox that is not mentioned can be left untouched.
-
Click Continue.
-
Wait for Visual Studio to ask which Workloads you want to install with it.
-
Scroll down and ensure that Game Development with Unity addon is checked under the Workloads tab.

-
Press the install button.
-
Wait for Editor and Visual Studio downloads to complete.
Success

-
Close the Visual Studio Installer window.
Since you already have Visual Studio 2022 installed, Unity will not install it for you. However, you must check if you have the Game Development with Unity workload installed. This is an essential addon that will help you debug and test your game code.
-
Open the Visual Studio Installer.

-
Click Modify for Visual Studio Community 2022.
-
Scroll down and ensure the Game Development with Unity workload checkbox is checked.
-
Press Modify if you had to check the checkbox.
-
Close Visual Studio after the changes apply.
Success
When the install completes, you should see the editor in the Installs tab.

Create a Project
Great! Now that you have the Editor and Visual Studio installed, you can begin creating your first Unity project which will be a simple platform game.
-
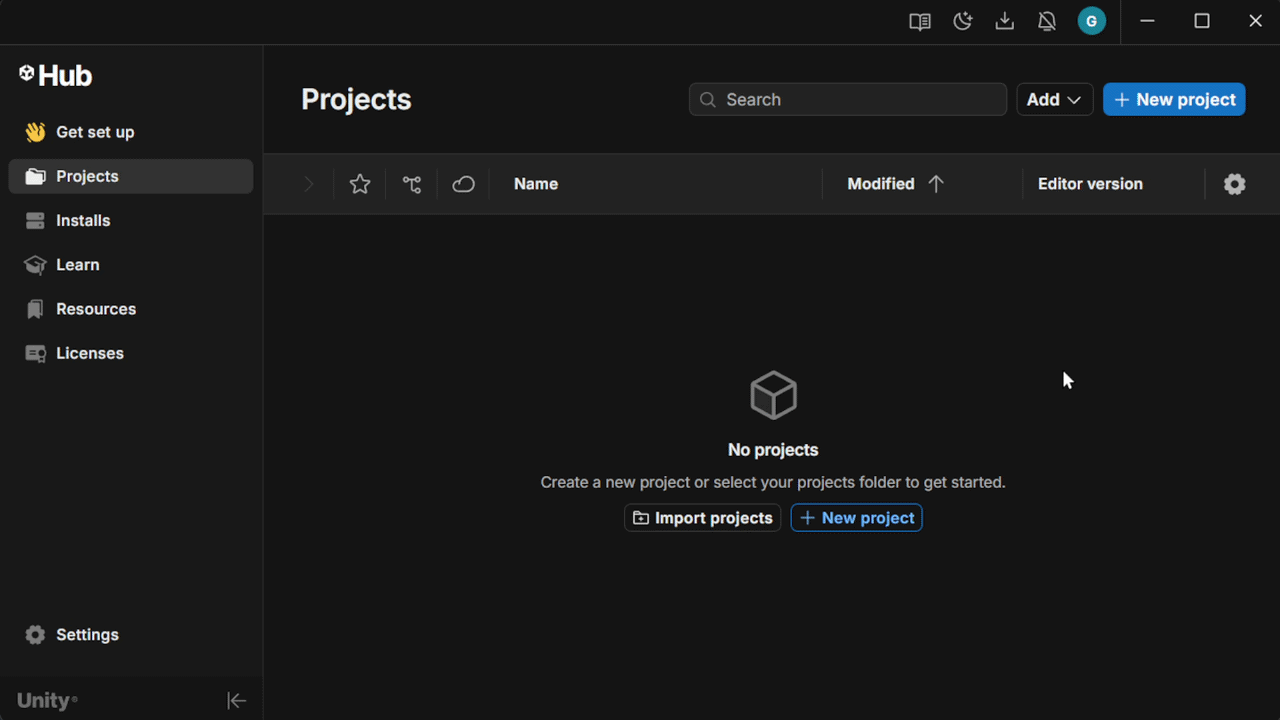
Go to the Projects tab on the left side of your Unity Hub window.
-
Click +New Project.
-
Select the Universal 2D Core Template under the Core tab.
-
Name your project.
-
Choose project location.
-
Click +Create Project.
Success
You should now see the Unity Editor creating your project.

Once it loads, you will see the Unity Editor open up.
Conclusion
Great! You should now have the Unity Editor installed.
See below for what your screen should look like after completing this section:
Success
